
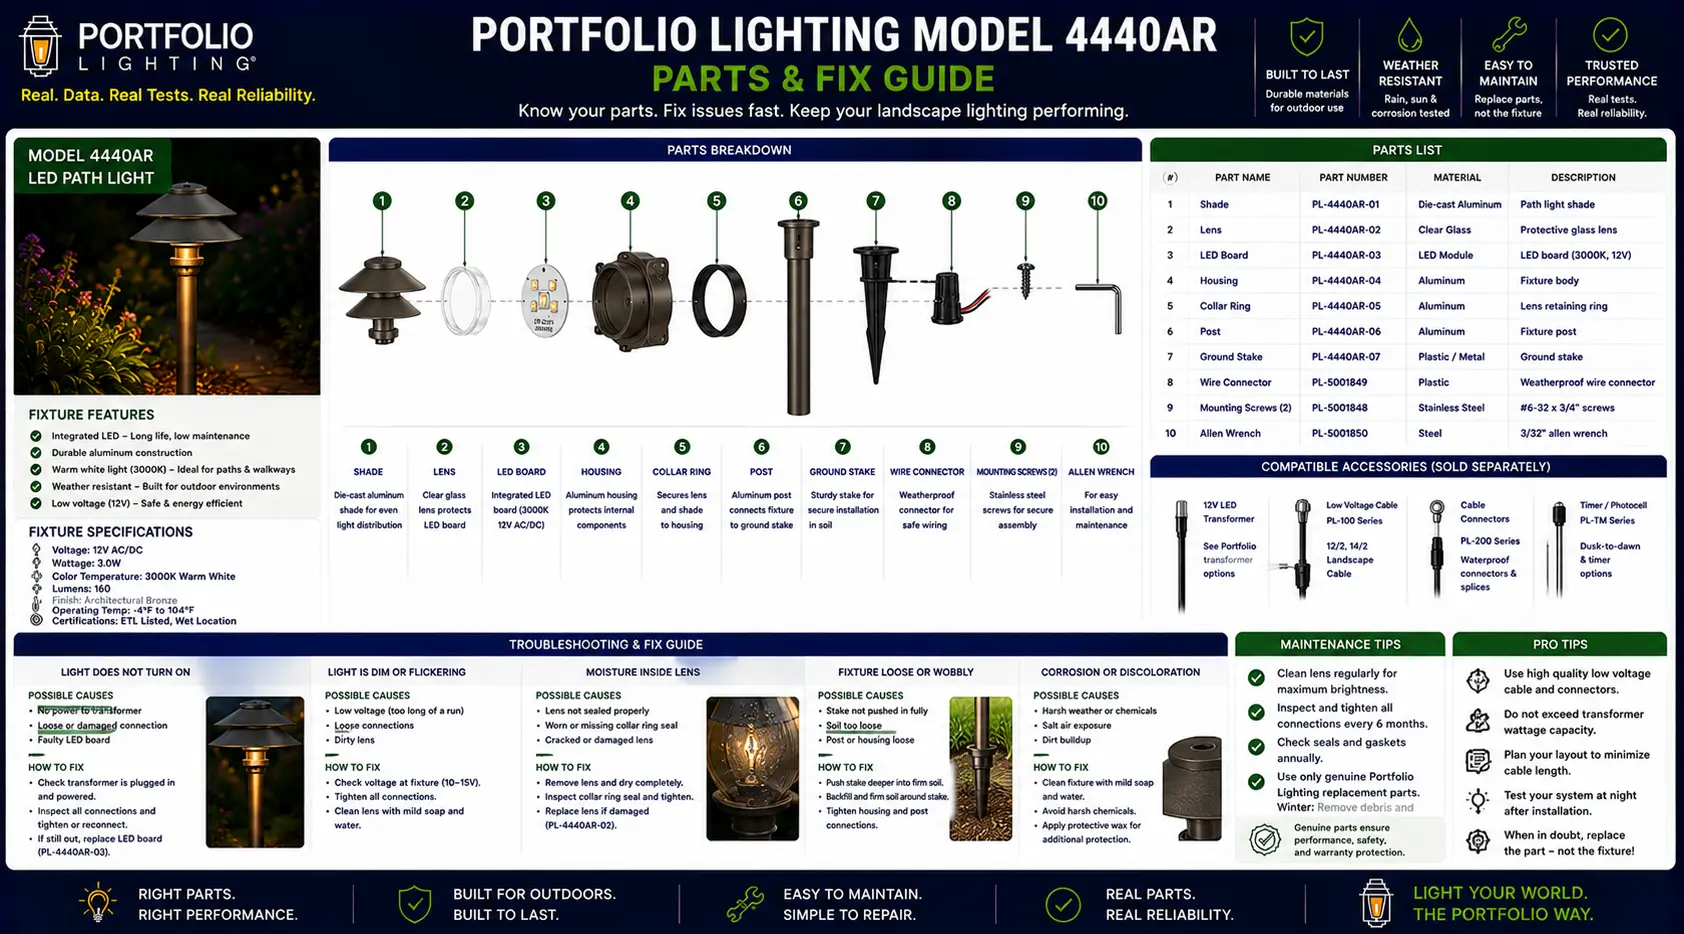
The 4440AR Bottom Cap Separation Defect — What Is Happening and Why
The Portfolio 4440AR uses a fixture body design where the bottom cap — the lower closure piece of the fixture that protects the internal wiring and lamp socket from below — is bonded to the main fixture globe or cylinder using an adhesive seal rather than a mechanical fastener. This design choice reduces visible hardware on the fixture exterior but creates a long-term vulnerability: the adhesive bond between the bottom cap and the fixture body degrades under the combined stress of UV radiation, thermal expansion and contraction cycles, and moisture infiltration at the joint edge.
The result is that the bottom cap begins to separate from the fixture body — typically first visible as a slight gap or wobble at the joint, progressing to a full separation where the cap hangs loose or falls away entirely. Once the cap separates, water enters the fixture interior through the open joint. This water contacts the bulb socket and the fixture's internal wiring, accelerating corrosion and eventually causing electrical failure. The failure timeline after first separation depends on local weather exposure but is typically measured in months, not years.
Why This Is a Design Defect, Not an Installation Problem
The separation occurs across multiple 4440AR units installed in a wide range of climate conditions by different homeowners using standard installation procedures. The common factor is not installation variation — it is the original adhesive bond's insufficient durability for exterior use over a multi-year service life. A fixture designed for exterior use in variable climate conditions should use either a mechanical fastener at the bottom cap or an adhesive rated for the full expected service temperature range and UV exposure level. The 4440AR's original bond does not meet these requirements for multi-year durability.
Step-by-Step Bottom Cap Repair Guide
The bottom cap separation on the 4440AR can be repaired with outdoor-rated clear silicone sealant. This repair is effective for 1 to 3 additional seasons depending on climate exposure severity. The following procedure gives the repair the best chance of durability.
Parts and Materials for the 4440AR Repair
For the Bottom Cap Repair
- Outdoor-rated clear silicone sealant — GE Silicone II Exterior, DAP All-Purpose Silicone, or equivalent rated for exterior use and UV resistance. Available at any hardware store. Cost: $5 to $10.
- Isopropyl alcohol (90%+) — For surface cleaning before sealant application. Available at pharmacies and hardware stores.
- Painter's tape — For holding the cap in position during sealant cure. Standard hardware store painter's tape is sufficient.
- Silicone tooling paddle or wet finger — For smoothing the exterior sealant bead. Dipping a gloved finger in water allows smooth tooling of uncured silicone.
If the Bulb Socket or Wiring Is Water-Damaged
If water intrusion from the cap separation has damaged the bulb socket or internal wiring, replacement of these components individually is typically not practical for a discontinued fixture — the fixture should be replaced. If the socket is intact but the bulb has corroded in the socket, the bulb replacement guide covers safe corroded-bulb removal. If internal wiring shows damaged insulation, replace the fixture — do not operate a fixture with compromised wiring insulation.
For Bulb Replacement
The 4440AR uses a standard E26 medium-base bulb. Replace with an outdoor-rated LED at or below the fixture's maximum wattage. Check the interior label for maximum wattage. See the bulb replacement guide.
When to Replace the 4440AR Instead of Repairing It
The silicone repair is effective and economical when the fixture interior is in good condition — no water damage to the socket, wiring, or internal components. Replace the 4440AR rather than repairing it when any of these conditions apply:
- The bulb socket shows visible corrosion that prevents secure bulb seating
- Internal wiring insulation shows cracking, discoloration, or brittleness from water and UV damage
- The bottom cap has separated multiple times despite previous silicone repairs — indicating the cap's structural integrity is compromised beyond what sealant can correct
- The fixture body itself shows significant corrosion, structural cracking, or UV degradation
- The GFCI on the circuit the 4440AR is on trips repeatedly when this specific fixture is connected — indicating water has compromised the internal wiring to the point of creating a ground fault
When replacing, switch off the circuit breaker, verify power is off, disconnect and remove the old fixture from the junction box, and install a replacement unit using the standard outdoor fixture installation procedure in the Portfolio installation guide.
Compatible Replacement Fixtures for the 4440AR
When the 4440AR is beyond repair, any 120V outdoor fixture that mounts to a standard exterior junction box is a compatible electrical replacement. The 4440AR's documented water intrusion problem is a manufacturing quality issue — the replacement fixture should be selected with attention to weatherproofing construction: look for die-cast aluminum or solid brass housing rather than plastic, UL listed wet location rating, and glass or seamed metal enclosures rather than adhesive-bonded plastic globe-and-cap assemblies.
The Portfolio outdoor wall fixtures guide, the Portfolio wall lanterns guide, and the Portfolio lighting alternatives guide cover current replacement options. The discontinued Portfolio lighting guide and the where to buy replacement parts guide cover secondary market options if you specifically want to find another 4440AR unit.
Portfolio 4440AR FAQ
Why does the Portfolio 4440AR bottom cap keep falling off?
The bottom cap is bonded with an adhesive that degrades under UV exposure and thermal cycling faster than the fixture's expected service life — it is a design and materials defect documented across multiple units. The repair approach using outdoor-rated clear silicone sealant, described in the fix guide above, provides a more durable bond than the original adhesive.
Can I fix the 4440AR bottom cap separation myself?
Yes — the silicone sealant repair is a straightforward DIY task. Switch off the circuit breaker before beginning, clean the mating surfaces thoroughly, apply outdoor-rated clear silicone sealant, hold the cap in position while curing, and apply a finish bead over the exterior joint. The full step-by-step procedure is in the repair section above.
What sealant should I use to fix the 4440AR bottom cap?
Use an outdoor-rated clear silicone sealant — GE Silicone II Exterior, DAP Silicone Sealant, or equivalent rated for exterior use and UV resistance. Do not use standard indoor caulk. Clear silicone is the preferred choice because it is visible on the fixture exterior and clear sealant is less conspicuous than white or colored caulk on a dark fixture finish.
My 4440AR won't light up after the bottom cap fell off — why?
Water intrusion from the open bottom cap joint has likely corroded the bulb socket or damaged internal wiring. Check the bulb — it may have failed from water contact. If a new bulb does not resolve the issue, the socket or wiring is damaged and the fixture should be replaced. The Portfolio troubleshooting guide covers the diagnostic sequence for a fixture that does not illuminate.