
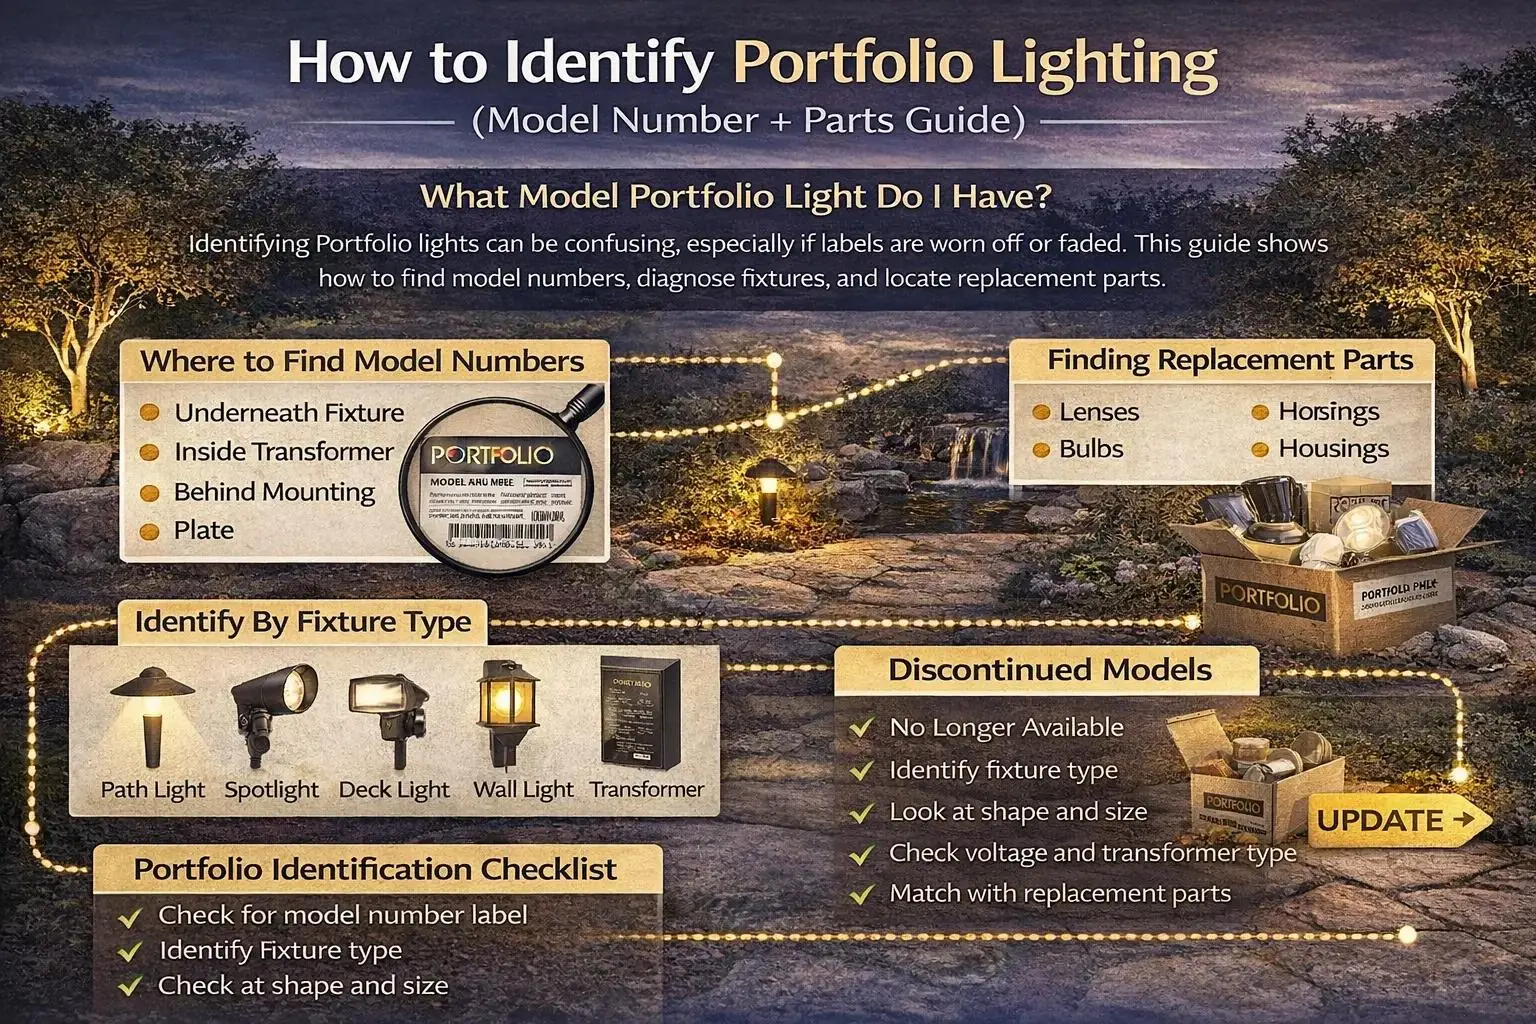
Quick Answer: What Portfolio Model 0394866 Really Is
Portfolio model 0394866 is best treated as a complete low-voltage LED path light kit number, not just a single replacement fixture number. In many searches, 0394866 refers to the full 6-light kit sold through Lowe’s, commonly including 6 LED fixtures, 6 stakes, a small 35-watt transformer, low-voltage cable connections, and snap-style connectors.
If one light head breaks, you may not need to replace the entire 0394866 kit. You need to identify the individual fixture head, stake thread, wire lead, connector type, LED color temperature, and transformer load before buying parts.
Logic Summary: How to Diagnose a 0394866 Kit
The repair logic for model 0394866 is different from a single fixture page because one failed part can be caused by the kit transformer, snap connector, integrated LED head, wire run, stake hardware, or moisture inside the lens.
- If one light is dead: test the fixture head directly at the transformer or a known 12V source before blaming the main cable.
- If the last lights are dim: inspect cumulative connector damage, not just distance from the transformer.
- If multiple lights flicker: check total wattage, splice condition, transformer heat, and snap connector bite points.
- If the lens fogs: reset the O-ring and reseal on a dry day instead of trapping humid air inside the fixture.
- If a plastic stake breaks: compare thread fit before replacing the whole light head.
What You Will Learn
- Why 0394866 is a kit number, not always a fixture number
- The 0394866 kit contents map
- The 35W transformer load ceiling
- Snap-fit connector forensics
- Deep-search replacement specs
- Integrated LED repair logic
- The 0394866 condensation loop
- How to identify model 0394866 without the box
- FAQ for model 0394866
Kit vs. Component: The First Thing 0394866 Owners Need to Understand
The most important distinction is that 0394866 is often the Lowe’s item or kit number . That means it can describe the boxed system rather than one individual light head. If you have one broken fixture, searching only “Portfolio 0394866 light” may return kit listings, manuals, incomplete parts, or unrelated used components.
The smarter repair path is to identify the component that failed inside the kit. A cracked stake, dead integrated LED head, corroded snap connector, fogged lens, or overloaded transformer all require different replacement searches.
| Search Clue | What It Probably Means | What to Search Next | Why It Matters |
|---|---|---|---|
| 0394866 on box/manual | Kit-level item number | Portfolio 0394866 kit parts or 6-light kit | May not identify one fixture head |
| Small sticker on fixture head | Component-level identifier | Sticker number plus Portfolio LED path light | Better for single-head replacement |
| 35W transformer label | Kit transformer rating | Portfolio 35W low-voltage transformer | Controls expansion limit |
| Broken plastic stake | Mechanical failure only | 1/2 inch NPS landscape light stake | Light head may still be usable |
| Snap connector failure | Splice problem, not fixture failure | Low-voltage silicone-filled connector | Prevents replacing good lights |
On mobile, swipe the table horizontally to view all diagnostic columns.
Portfolio 0394866 Kit Contents Map
A typical 0394866 kit should be viewed as a small low-voltage ecosystem. Each part contributes to the failure pattern years later, especially when a homeowner adds lights, extends the cable, or reclips connectors in the same damaged spot.
| Kit Component | Typical Quantity | Failure Pattern | Replacement Logic |
|---|---|---|---|
| LED path light fixtures | 6 | Integrated LED head dies, lens fogs, socket/driver fails | Replace head by voltage, thread and color temperature |
| Plastic stakes | 6 | Breaks at neck in clay soil or freeze/thaw movement | Upgrade to compatible 1/2 inch NPS metal stake |
| Plug-in transformer | 1, often 35W | Flicker, sag, heat or overload when expanded | Keep load near 80 percent |
| Snap-style connectors | Often 12 contact points total | Strand severing, oxidation, intermittent power | Move bite point or replace with sealed splice |
| Low-voltage cable | Kit length varies | Voltage drop, nicked jacket, moisture wicking | Match 18/2 SPT-2W style or compatible outdoor cable |
On mobile, swipe the table horizontally to view all diagnostic columns.
The 35W Transformer Load Ceiling: Why the 80% Rule Matters
Many 0394866 kits include a small 35-watt plug-in transformer. Homeowners often add a 7th or 8th fixture because the transformer still appears to have room on paper. The hidden problem is heat, startup surge, connector resistance, and voltage sag.
If the kit flickers after adding lights, the transformer may not be “bad.” The system may be exceeding the practical load ceiling, or one leaky splice may be drawing extra current and dragging the whole kit down.
| Condition | What Owner Sees | Hidden Cause | Correct Repair |
|---|---|---|---|
| 6 original LEDs only | Normal brightness | Transformer operating within intended kit design | Maintain sealed connectors |
| 7th or 8th light added | Flicker or dim end fixtures | Load or run length exceeds practical margin | Upgrade transformer or reduce fixtures |
| Lights dim in hot weather | Summer sag | Transformer heat and load stress | Improve ventilation or reduce load |
| Flicker after rain | Random blinking | Leaky splice or corroded connector adds resistance | Rebuild connector and cut back copper |
| Transformer feels hot | Potential overload | Too much load or poor airflow | Reduce connected wattage |
On mobile, swipe the table horizontally to view all diagnostic columns.
Snap-Fit Connector Forensics: The Hidden Strand-Severing Problem
Model 0394866 kits often use easy-snap connectors that clamp around the low-voltage cable. They are convenient, but they can also damage the copper. On thinner 16-gauge or 18-gauge wire, the metal pins can sever or flatten a large percentage of the conductor strands.
This explains why the last fixtures in a 0394866 run can look dimmer. The problem is not always distance alone. It can be the cumulative bottleneck effect of multiple snap connectors damaging the cable along the run.
| Connector Clue | Internal Damage | Visible Symptom | Best Fix |
|---|---|---|---|
| Same clip location reused | Old copper is already compressed | Failure returns after repair | Move to fresh cable |
| Green dust inside connector | Copper oxidation and moisture intrusion | Flicker after rain or during damp weather | Cut back to bright copper |
| Last lights dim | Cumulative connector resistance | End-of-run brightness loss | Rebuild bad taps and check load |
| Connector bites through cable | Strands severed or flattened | Voltage present but weak under load | Use sealed splice or fresh bite point |
On mobile, swipe the table horizontally to view all diagnostic columns.
Technical Specs for Finding Universal 0394866 Replacements
These are the practical field specs owners need when original kit parts are hard to find. Always confirm measurements on your own fixture before ordering, but these search terms help narrow compatible replacements.
| Component | Metric / Spec | Why It Matters | Search Phrase |
|---|---|---|---|
| Stake thread | Usually 1/2 inch NPS style | Allows upgrade to metal stakes if plastic stake snaps | 1/2 inch NPS landscape light stake |
| Color temperature | Often around 3000K warm white | Critical for matching one replacement head to five existing lights | 3000K 12V LED path light head |
| Wire gauge | 18/2 SPT-2W style kit lead | Important when buying extension or replacement wire | 18/2 SPT-2W low voltage wire |
| LED module | Integrated LED | No bulb change; replace head or internal driver assembly | 12V integrated LED path light head |
| Transformer | 35W kit transformer | Limits expansion and extra fixtures | 35W low voltage landscape transformer |
On mobile, swipe the table horizontally to view all diagnostic columns.
Integrated LED Repair Logic: No Bulb Does Not Mean No Diagnosis
Many 0394866 fixtures are integrated LED heads. That means the LED is not designed like a replaceable MR16 bulb. When the light goes out, the failed part is often the small internal driver board, moisture-damaged electronics, or a bad connector feeding the head.
The fastest way to separate fixture failure from wire failure is a direct 12V test.
| Test Result | What It Means | Likely Failed Part | Replacement Path |
|---|---|---|---|
| Lights during direct test | Fixture head is good | Connector, splice or main wire | Repair yard wiring |
| Does not light during direct test | Fixture head is failed | Internal driver or LED module | Replace 12V LED head |
| Flickers during direct test | Internal electronics unstable | Driver board failing | Replace head |
| Only works when wire is bent | Lead wire break | Fixture pigtail or connector | Repair lead if accessible |
On mobile, swipe the table horizontally to view all diagnostic columns.
Since the LED is integrated, do not search only for “0394866 bulb.” Search for a compatible 12V LED path light head with a 1/2 inch NPS thread and similar warm-white color temperature if the original head is dead.
The 0394866 Condensation Loop: Why Plastic LED Fixtures Fog
Plastic-bodied LED fixtures trap and release heat differently than heavy metal fixtures. When the LED warms the air inside the head, that air expands and pushes outward around the lens gasket. When the fixture cools, humid air can be pulled back inside. If the O-ring was pinched during assembly, the fixture can fog repeatedly.
| Fogging Clue | Hidden Cause | Why It Repeats | Best Fix |
|---|---|---|---|
| Fog appears after cool nights | Humid air trapped inside lens | Fixture breathes during heat cycles | Open on dry day and reseal |
| Water droplets inside lens | Pinched or failed O-ring | Seal pressure is uneven | Reset gasket and grease lightly |
| One fixture fogs, others do not | Assembly defect or local seal issue | That lens has worse gasket contact | Inspect that head only |
| LED fails after fogging | Moisture reached driver board | Integrated electronics corroded | Replace head and fix seal habits |
On mobile, swipe the table horizontally to view all diagnostic columns.
How to Tell You Have a Portfolio 0394866 Kit Without the Box
If the original packaging is gone, use visual clues from the transformer, stake, connector, wire and fixture body. A kit number is often lost first, but the system layout still gives clues.
- Check the transformer: Look for a small black plug-in transformer, often around 35W, sometimes with dusk-to-dawn control built into the face.
- Check the stake: Many kit fixtures use fin-style plastic stakes that snap at the neck in clay soil or frozen ground.
- Check the wire jacket: Look for SPT markings on the cable, especially 18/2 style low-voltage kit wire.
- Check the connector: Snap-fit cable connectors are a strong clue that the system was sold as an easy-install kit.
- Check the light output: Warm-white 3000K-style LED output is common and important if matching one replacement head to existing fixtures.
Related Existing Portfolio Lighting Help
- Portfolio Lighting Parts and Accessories
- Portfolio Lighting Replacement Parts
- Where to Buy Portfolio Replacement Parts
- Portfolio Lighting Model Number Lookup
- Portfolio Lighting Model Parts Directory
- Portfolio Lighting Master Model Technical Database
- Model Library, Specifications and Repair Index
- Portfolio Lighting Compatibility Guide
- Portfolio Transformer Sizing Guide
- Portfolio Transformer Wattage Guide
- Landscape Lighting Voltage Drop
- Low Voltage Wire Connectors
- Portfolio Lighting Wire Replacement
- Portfolio Replacement Stakes
- Portfolio Lighting Troubleshooting
- Low Voltage Failure Points Guide
FAQ: Portfolio Lighting Model 0394866
What is Portfolio Lighting model 0394866?
Portfolio Lighting model 0394866 is best understood as a Lowe’s kit-level item number for a 6-piece low-voltage LED path light system, not always the part number stamped on each individual fixture head.
Can I replace just one light from a 0394866 kit?
Usually yes, but search by fixture style, 12V LED compatibility, thread size, color temperature, connector type and physical dimensions instead of relying only on the 0394866 kit number.
Can I add more lights to the 0394866 transformer?
Be careful. This kit is commonly paired with a small 35W transformer. For better LED life and fewer flicker problems, keep connected load near 80 percent of rating, or about 28W.
Why are the last lights in my 0394866 kit dimmer?
The cause may be cumulative connector resistance, not just distance. Easy-snap connectors can sever or compress copper strands and bottleneck current along the run.
Can the bulb be changed in Portfolio model 0394866?
Many 0394866 fixtures use integrated LED heads, so there may be no replaceable bulb. If the head fails a direct 12V test, the internal driver or LED assembly usually needs replacement.
Why does the 0394866 lens fog?
Plastic-bodied LED fixtures can trap humid air. A pinched or dry O-ring can create a condensation loop. Resetting and lightly greasing the gasket helps prevent recurring fog.
Use and Safety Note
This page is an independent model-specific guide for Portfolio lighting owners. Always verify the label on your own kit, confirm transformer output before replacing parts, and consult a qualified electrician for damaged wiring, unsafe outlets, water intrusion, hardwired power or line-voltage transformer issues.