
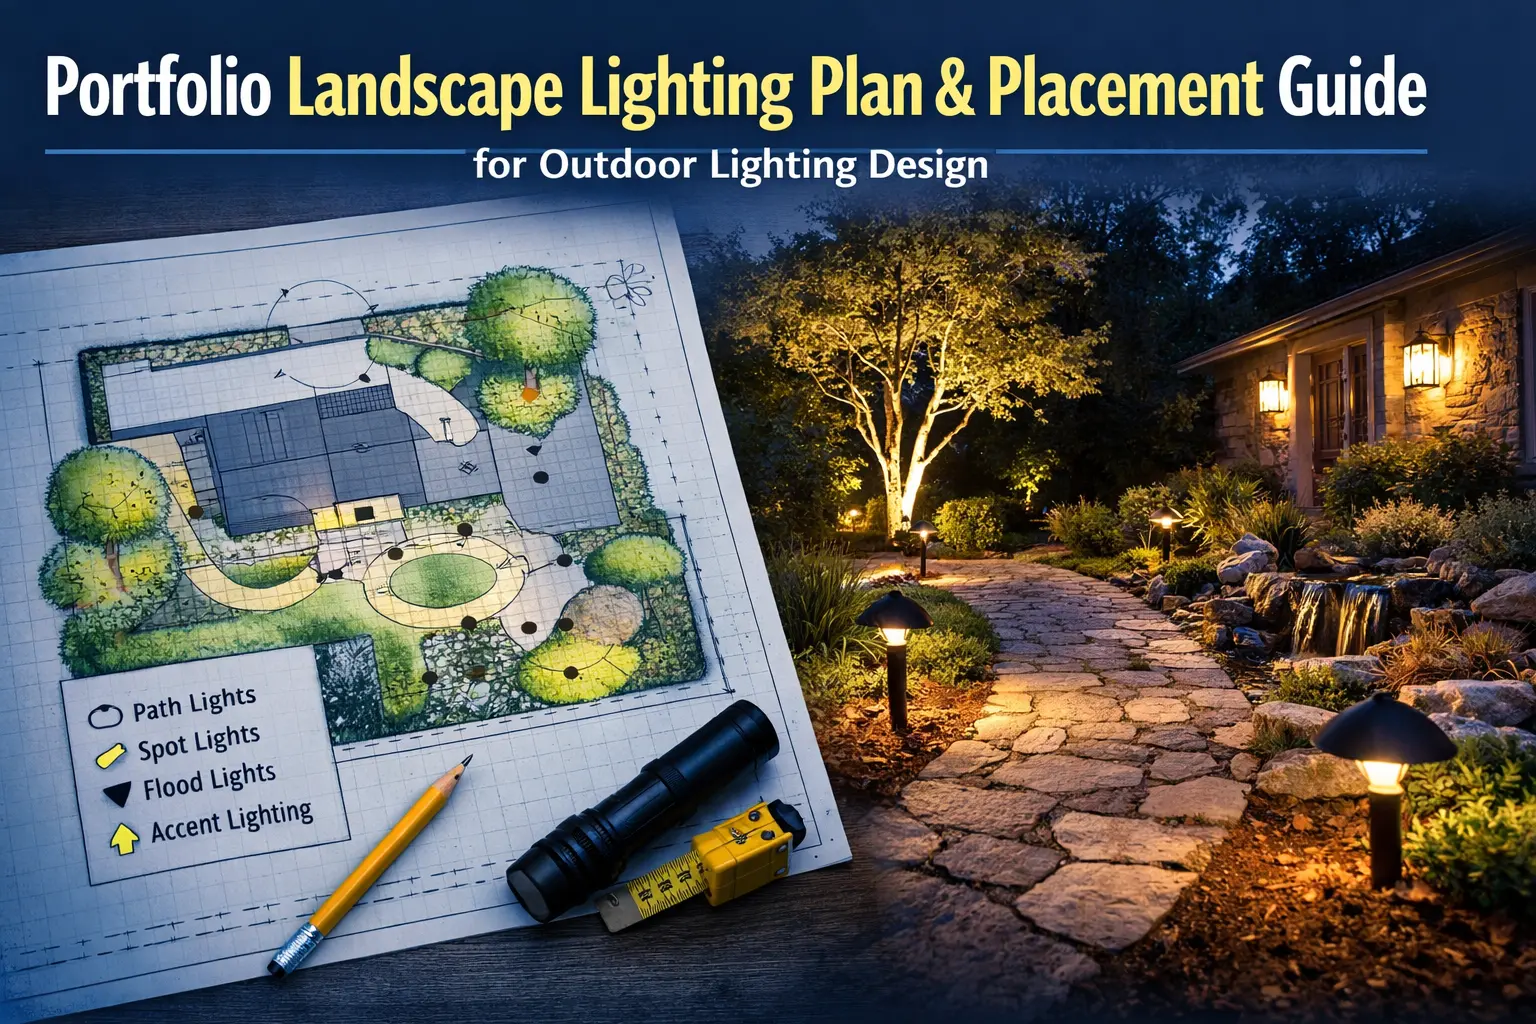
Quick Answer: How Do You Plan Landscape Lighting?
Start by identifying where light is needed, then plan fixture placement, spacing, and system layout before buying fixtures.
- ✔ Light paths, entry points, and key areas first
- ✔ Place fixtures before choosing products
- ✔ Use spacing to create balanced coverage
- ✔ Design the system to support the layout
If your current lighting looks uneven or not working correctly, start with Portfolio lighting troubleshooting before redesigning your layout.
Start Here: What Are You Trying to Do?
- ✔ Plan a full yard → follow layout section
- ✔ Place fixtures → go to placement section
- ✔ Fix uneven lighting → go to spacing section
- ✔ Build system → go to transformer and wiring
The best landscape lighting feels natural at night. It guides people where they need to walk, highlights the right features, and keeps the yard from feeling dark or uneven. That kind of result usually comes from planning the layout before any fixtures are installed.
This page brings everything together in one place, including layout ideas, fixture placement, spacing, and how the system should be set up. It’s designed to help you plan your lighting so it looks balanced and works the way it should from the start.
Start here, then move into the more detailed pages as needed, like Portfolio lighting placement, Portfolio landscape lighting installation, Portfolio landscape lighting wiring, and landscape lighting design guide.
Top 3 Landscape Lighting Mistakes
- ❌ Buying fixtures before planning layout
- ❌ Placing lights too close or too far apart
- ❌ Ignoring transformer and wiring limits
Fix: plan layout first, then build the system around it.
Quick answer: how to plan a Portfolio lighting layout
The best way to plan a Portfolio lighting layout is to start with the parts of the property that need light most, then build outward in layers. For most homes, that means covering key walking paths, entry points, steps, driveway edges, patios, and a few focal points like trees, columns, or front landscaping. After that, choose fixture types, decide spacing, estimate wire runs, and confirm that the transformer can handle the total load.
The layout should not feel like random points of light. It should guide movement naturally from one zone to the next. A front walk should connect to the driveway. The driveway should connect to the entry. The patio or gazebo should feel like part of the same nighttime environment instead of a separate island of light. That is why broad layout pages matter more than simple product pages when homeowners are still in the planning phase.
How to build a landscape lighting layout that feels balanced
A balanced lighting layout starts with understanding how people actually move around the property at night. That movement pattern is usually more important than the fixture catalog. Paths, driveway transitions, steps, patio edges, side-yard passages, and front-entry approaches should usually be the first priority. Once those are covered, focal elements such as a tree, stone column, wall, or garden bed can give the yard more character.
Start with the circulation pattern
Walk the property at dusk and notice where people naturally travel. Those routes tell you where visibility matters most. A narrow side path needs different light than a wide driveway or a front entry sequence. This is where pages like landscape lighting layout, landscape lighting layout design, and landscape lighting guide support the broader planning process.
Layer the layout instead of relying on one fixture type
Good yard lighting usually combines at least two or three roles. One layer guides movement, another highlights important features, and a third creates softer transition lighting. That could mean path lights along a walk, a spotlight on a tree, and a softer accent at the front bed. It does not take many fixtures to create a strong layout if each fixture has a clear job.
Keep the design connected
One of the most common reasons a yard looks uneven at night is that the lighting was planned as separate mini projects. The driveway was done one year, the patio another year, and a few path lights were added later with no overall design plan. This page exists to prevent that. The goal is one connected nighttime layout, not several unrelated lighting decisions.
Portfolio lighting placement guide by area
Fixture placement depends on the job of the space. The same path light that works well along a front walk may not be the right answer beside a wide driveway or around a gazebo. A good placement guide looks at the area first, then chooses the fixture and spacing that support that area.
Paths and walkways
Path lights are usually the first placement choice because they define where people should walk. Use them where guidance matters, not everywhere just because there is room. Related pages include Portfolio path lights and path light placement.
Seasonal lighting works best when layers of uplighting, pathway lighting, and accent lighting are planned together. The Halloween landscape lighting planning guide explains how to position fixtures for dramatic outdoor effects without overwhelming the yard.
Driveways and garage approaches
Driveway placement is about edge definition, safe approach, and front-yard curb appeal. Wider areas may need fewer but stronger visual markers, while curves may need slightly tighter spacing. See driveway landscape lighting for the more specific supporting article.
Patios, decks, and gathering areas
Gathering spaces usually need softer and more layered lighting than circulation zones. Instead of lining the whole perimeter with bright fixtures, think about comfort, conversation, steps, edges, and nearby focal points. Pages like Portfolio deck lighting, Portfolio step lighting, and Portfolio gazebo lighting help support that part of the plan.
Landscape focal points
Trees, walls, columns, and bed features are what make the yard feel interesting after dark. A few well-placed accents often do more for the look of the yard than adding extra edge lights everywhere. Related pages include tree uplighting guide, Portfolio landscape spotlights, and Portfolio outdoor wall spotlights.
Spacing and design balance
Spacing is one of the fastest ways to tell whether a lighting layout was planned carefully or installed without much thought. Fixtures that are too close together create glare and visual clutter. Fixtures that are too far apart can leave dark gaps and make the layout feel unfinished.
Outdoor stairs need their own lighting strategy because the goal is not just appearance, but also safe visibility from one step to the next. If your project includes steps, deck stairs, or entry stairs, use this outdoor stair lighting guide to help plan fixture type, spacing, and placement more effectively.
Lighting large open spaces requires different spacing logic than residential rooms. The Portfolio high bay placement and coverage guide explains mounting heights, aisle spacing, and lumen planning for large indoor environments.
| Area | Common spacing approach | Main goal | Best supporting page |
|---|---|---|---|
| Front walk or garden path | Often around six to ten feet apart, adjusted for brightness and curves | Create soft overlapping pools of guidance | Path light placement |
| Driveway edge | Spacing depends on width, curves, and fixture height | Define the edge without runway glare | Driveway landscape lighting |
| Patio or deck perimeter | Usually less rigid and more mood-driven | Support comfort and transition, not just brightness | Portfolio deck lighting |
| Accent uplighting | Based on focal point size and beam direction | Add depth and visual hierarchy | Tree uplighting guide |
| Full-yard layout | Blend guidance, transition, and focal spacing together | Keep the entire design visually connected | Landscape lighting spacing |
Plan the yard in lighting zones
A large reason homeowners get overwhelmed is that they try to plan the whole yard as one giant project. It gets easier when you break the property into zones. Front walk, driveway, entry, patio, side yard, bed accents, and backyard gathering areas can each become manageable lighting decisions that still connect into one overall layout.
Zoning also helps with transformer planning and cable routing. A zone with mostly path lights has different needs than a zone with tree accents and patio lighting. This becomes even more important if you plan to expand the system later. Pages like low voltage landscape lighting zones, landscape lighting system diagram, and Portfolio low voltage lighting help show how those zones fit together.
Front Entry Zone
Use a mix of path lighting, soft transition light, and one or two focal accents to connect the driveway and front door.
View landscape lightingDriveway Zone
Define edges clearly, support curves, and make the garage approach easier to navigate without harsh glare.
View driveway guidePatio or Gathering Zone
Use softer, more layered placement to support comfort and social use instead of just visibility.
View gazebo guideTechnical Planning Zone
Size the transformer, estimate the load, and plan cable routes before expanding the fixture count.
View transformer sizingLow voltage system planning: transformer, wiring, and voltage drop
Even the best layout will disappoint if the low voltage system behind it is undersized or poorly routed. Planning the electrical side of the design matters because long runs, too many fixtures on one line, weak connectors, or an undersized transformer can make the layout look uneven or unreliable at night.
Start with transformer sizing
Add up the fixture load and leave room for future expansion. Homeowners often underestimate how quickly wattage adds up across paths, beds, driveways, and patios. Review Portfolio lighting transformer sizing guide, Portfolio lighting transformer wattage guide, and landscape lighting transformer guide before finalizing the system.
Plan wire routes before installing fixtures
Clean wire routes make maintenance and troubleshooting easier later. If you install fixtures first and figure out cable routes afterward, the project usually gets messier and less reliable. Supporting pages here include how to wire landscape lighting, Portfolio landscape lighting wiring, and landscape lighting cable guide.
Watch for voltage drop on longer runs
Voltage drop is one of the most common reasons a good layout looks disappointing in real life. The farthest fixtures can appear dimmer even when the design itself is solid. See landscape lighting voltage drop, landscape lighting wire gauge, and landscape lighting connectors to avoid that problem.
Common Portfolio lighting planning mistakes
The first common mistake is buying fixtures before the layout is clear. That usually leads to too many of one fixture type and not enough thought about paths, transitions, and focal points.
The second mistake is over-lighting the property. More fixtures do not always make a better layout. In fact, too many bright fixtures can make the yard feel flatter, harsher, and less comfortable after dark.
The third mistake is ignoring the electrical side of the plan. Homeowners often create a visually strong design but then connect too many fixtures to one transformer or one long run. That leads to dim lights, flicker, and performance problems. For the troubleshooting side of those issues, use Portfolio lighting troubleshooting, landscape lights dim, landscape lights flickering, and landscape lights not working.
How to Use the Placement Guide
The Portfolio lighting placement guide works best as a hands-on companion to this page. Think of this page as the big-picture planning guide, and that one as where you go when you want to see exactly where lights should go.
If you're trying to figure out spacing, positioning, or what looks right in a real yard, that placement guide walks through practical examples you can follow. From there, you can jump into more specific setups like driveway lighting, gazebo lighting, and path light placement to dial things in.
Start here to understand the layout and overall plan, then use the placement guide to fine-tune where everything goes.
Frequently asked questions
How do I plan a Portfolio lighting layout?
Start by identifying the areas that need light most, such as paths, entry points, steps, driveway edges, focal trees, and gathering spaces. Then choose fixture types, estimate spacing, plan wire routes, and make sure the transformer can handle the total load.
What is the best way to place landscape lights around a house?
The best placement usually combines path lighting for guidance, accent lighting for focal points, and softer transition lighting around doors, patios, and beds. The goal is layered visibility rather than one overly bright fixture type everywhere.
How far apart should Portfolio path lights be placed?
Many path lights are spaced around six to ten feet apart, but the right spacing depends on fixture brightness, beam spread, path width, curves, and nearby landscaping.
Do I need a transformer for Portfolio landscape lighting?
Most Portfolio low voltage landscape lighting systems need a transformer to convert household power to the lower voltage used by outdoor fixtures. Transformer size depends on total fixture load and the length of the runs.
Why does a landscape lighting layout look uneven at night?
Uneven layouts are often caused by poor spacing, too much brightness in one area, missing transition lighting, voltage drop on long runs, or using fixture types that do not match the job of the space.
Expert-Verified Troubleshooting
Every technical guide on PortfolioLighting.net is bench-tested in our Specialist Workshop. Our troubleshooting procedures are based on 25+ years of field experience and are maintained by Philip Meyer to ensure accuracy and electrical safety compliance.